CAUTION: If you are unfamiliar with your boat's construction, please consult your boat's owner's manual and/or seek professional advice before drilling.
One of the most intimidating moments of a boat owner’s life is the day it becomes necessary to drill into the boat’s fiberglass. It’s an understandable fear - you’ve invested a lot of time and money into your boat and, when done incorrectly, fiberglass drilling can have costly consequences. If you do it the right way though, there’s no reason to be nervous. That’s why we’re breaking down exactly how to go about drilling into your boat’s fiberglass in this guide.
Required Tools
Before you can think about drilling holes in your boat to mount a wakeboard tower or any other accessory, you’ll need to gather the right tools for the job. We recommend the following:
- Power drill
- Center punch
- Standard and/or chamfer drill bits
- Blue painter's tape
- Measuring tape
- Permanent marker
- Silicone sealant
Tips To Know Before You Start Drilling
- Always wear eye protection; light gloves are also recommended to prevent cuts from splinters or chips
- Don’t put excessive force on the drill
- Always keep the drill bit square with the surface you’re drilling into
- Protecting your gelcoat is imperative - cracks in the gelcoat have a tendency to travel


Process for Drilling Through Fiberglass
Now that you’ve gathered the right tools it’s time to begin drilling your mounting holes. Knowing the right process can make the difference between a successful installation and a fiberglass nightmare. Be sure you are fully versed in the process before you begin.
Step 1: Prepare the Area
The preparations you take before drilling into your boat can make or break the process. Fiberglass repair is a costly process so you want to be sure you’ve done all the right prep work before ever picking up a drill.
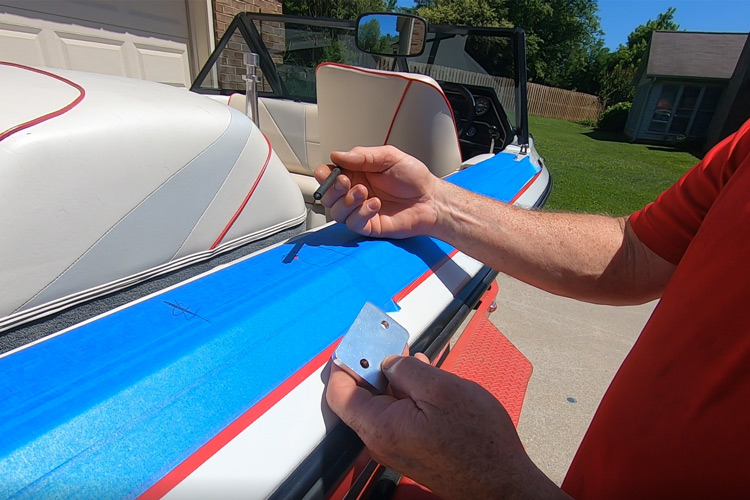
First, check your desired drilling location to ensure you have plenty of clearance and to confirm that no wires, gas lines, or gas tanks will obstruct drilling. Next, cover the surface with blue painter’s tape. Not only will this protect the surface of your boat and prevent scratches, but the tape makes an excellent place to mark out your drilling template to ensure you drill in exactly the right spot. Finally, measure and mark your desired drilling locations.
Step 2: Drill a Pilot Hole in Reverse
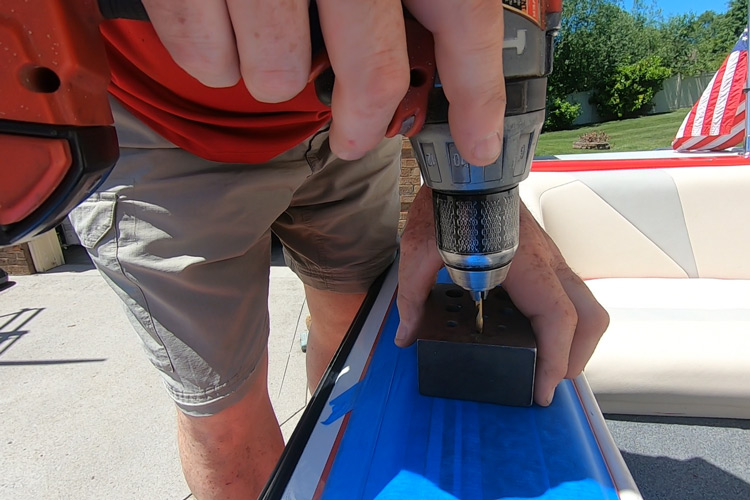
Once you have all of your prep work done it’s time to drill. Before drilling, use a center punch to create a small indent in the center of your mark to keep the drill in place and prevent the bit from skipping. Set your drill to the reverse position and begin drilling out your hole. This practice allows you to break through the gelcoat layer without cracking or chipping. Once you’ve finished drilling into the fiberglass, back the bit out of the pilot hole.
Step 3: Finish the Hole by Drilling Forward
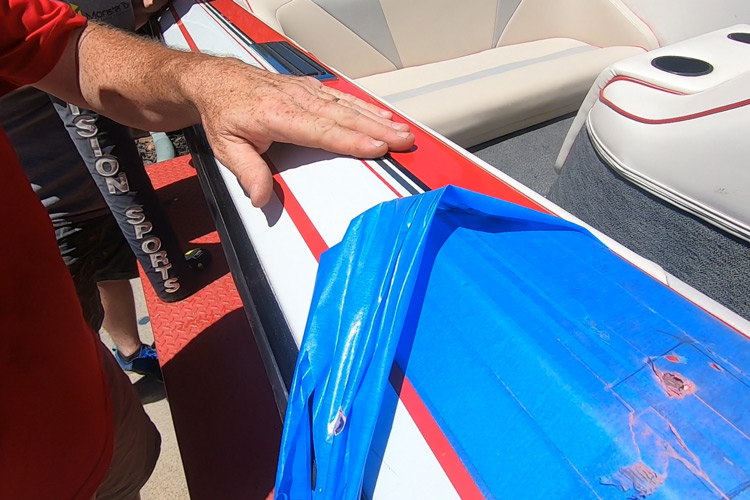
Now that you’ve successfully drilled through the gelcoat, set your drill into its forward position and finish drilling the hole at a medium speed. As you continue to drill out the hole, be sure to keep a controlled grip on the drill and do not allow the bit to wander. For additional protection against cracking in the gelcoat, complete the process by using a 45° chamfer bit to countersink the hole. Remove the painter’s tape and you’re ready to begin mounting.
Pro Tip: If you need to increase the size of the hole by drilling with a larger bit, be sure to repeat Steps 2-3 to avoid any possibility of cracking the gelcoat.
Step 4: Seal the Area
Once your mounting hardware has been installed, the final step is to seal the area thoroughly. Use a marine-grade sealant to keep out moisture and prevent damage to the core of your fiberglass.
Ready for a DIY Wakeboard Tower Installation?
Following the steps above takes the fear factor out of drilling into your boat and makes DIY installation of your Monster wakeboard tower a breeze. If you have questions as you embark on your install, feel free to contact our knowledgeable customer service team for help.


Comments