
Bimini tops are one of the most popular wakeboard tower accessories and for good reason! Although every watersports enthusiast enjoys a sunny day, being out in the sun for hours without shade can be exhausting and poses a threat to your skin. Bimini tops provide necessary shade on your boat to keep you comfortable all summer long.
Choosing Your Bimini Style

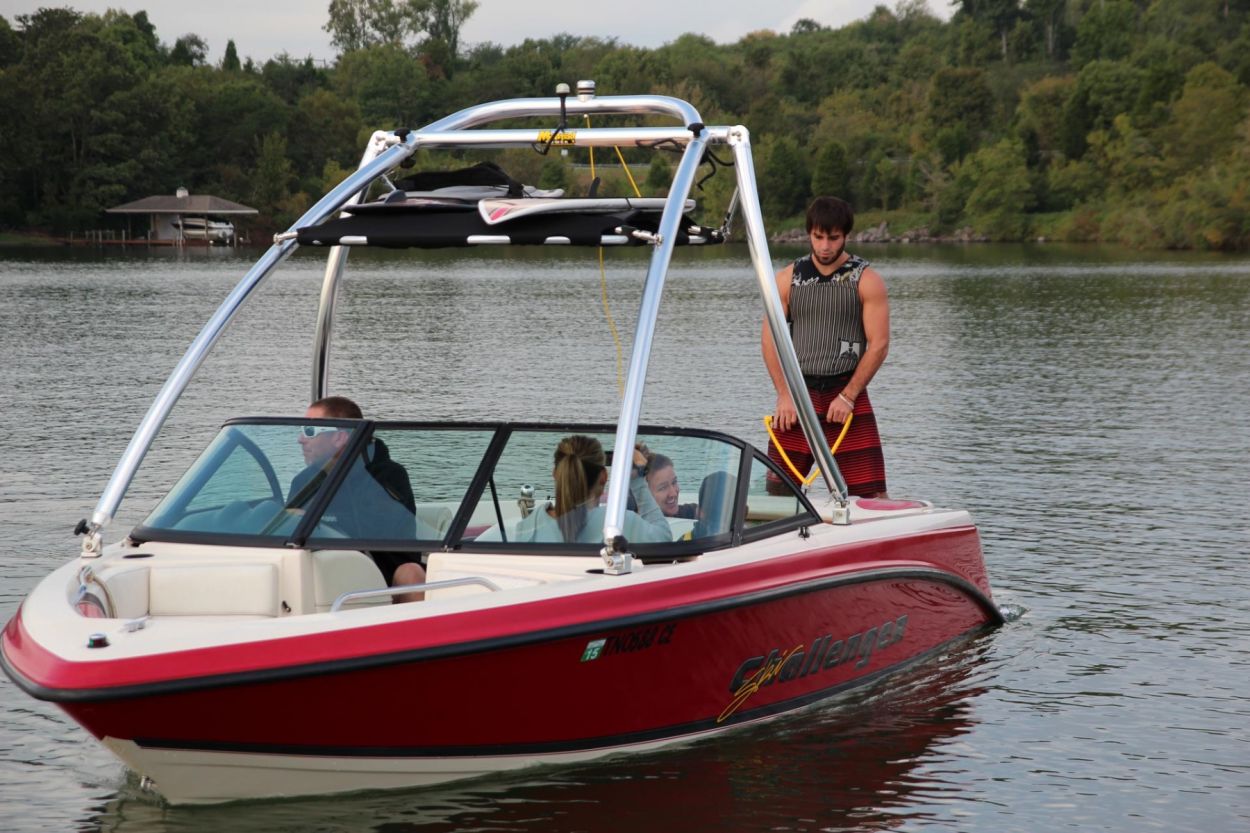
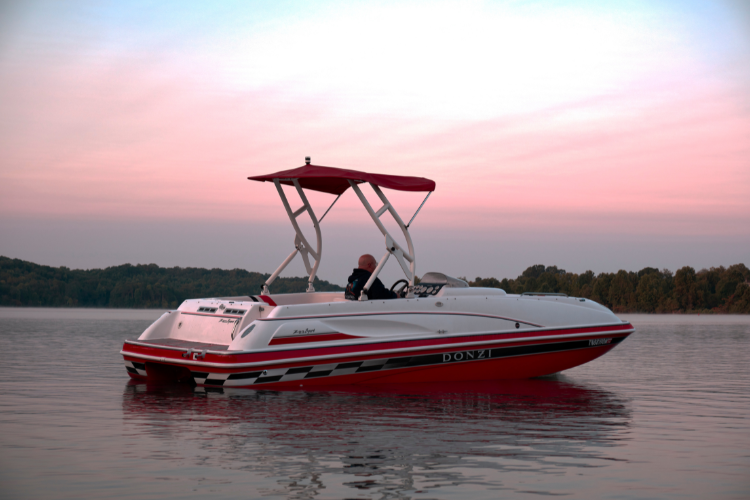
Monster Tower offers two bimini top styles: Over-the-Top Biminis and Cargo Rack Biminis. Our over-the-top bimini is our most popular option and has options available to perfectly fit your Monster wakeboard tower. This bimini top is designed to offer maximum shade while maintaining headroom on your boat. The cargo rack bimini, on the other hand, is built for both shade and storage space. While this bimini will cut down slightly on your available headroom, it creates the perfect space to store tubes, wakeboards, and more to keep your boat’s deck clutter-free.
If you’re not sure which bimini is right for your needs, be sure to check out our complete bimini top buying guide.
Installing a Bimini Top
Before beginning your bimini installation it’s important to read the included instructions thoroughly to ensure you understand the process. In this guide we’ll take you through installation in general terms but you’ll need to consult your installation guide for complete details for your specific bimini.
You can find those resources included in your bimini’s packaging or in our online Technical Information page.
Skill Level: Beginner to Intermediate Time: 2 hours
Tools and Supplies:
- Included parts and hardware
- Drill
- Phillips Screwdriver
- Tape Measure
- Felt Tip Marker
- Safety Glasses
Step 1: Assemble Your Bimini
If your bimini’s frame requires assembly (like our Cargo Rack Bimini) follow the included instructions to assemble and prepare the frame for installation. Once the frame is assembled, set the assembled bimini top aside.
Step 2: Determine Your Mounting Points
Next, you’ll need to find the mounting points for your bimini which will be located on the tower’s legs and header. Following the instructions included with your bimini, measure to find the drilling points of each mount and mark these measurements.
Step 3: Attach Mounts & Complete Installation
Once you’ve found and marked your mounting points it’s time to attach the bimini’s mounts to the tower legs. To do so, grab a drill and the included screws, line each base up with the marked mounting points, and screw each mount onto the tower’s leg. Once the leg mounts are installed, attach the canvas to the tower with your pre-assembled frame or included support arms. Finally, install the header mounts to complete bimini installation and ensure the canvas is stretch tightly and secured in place with eye straps if included.
Monster Tower Bimini Installation Tips & Tricks
Want to see a bimini installation in action? Watch along as members of our Monster Tower team install an MTK bimini:
Plus, we’ve polled our team of experts on their best tips and tricks for a flawless bimini installation. Here’s what they had to say:
- Before drilling, use a center punch to dimple the metal where you intend to drill. This will keep the drill from “walking” on the metal as you start your holes.
- To protect the tower from any marring or scuffing, it’s advised to cover the area you’re working on with blue painter’s tape.
- Metal shavings are a necessary evil when it comes to drilling into your tower. You can minimize the mess by laying down a tarp/liner or having someone hold a vacuum beneath the drill.
- To ensure the bimini is taut in the rear, reach up to the center point at the rear of the bimini and give the strap a gentle pull downward to tighten completely


Comments